


My Quest for the Smoothest 3D Print Finish (And The Settings I Used To Get It)

I haven’t started building my split flap sign and I’m already fussing over the details.
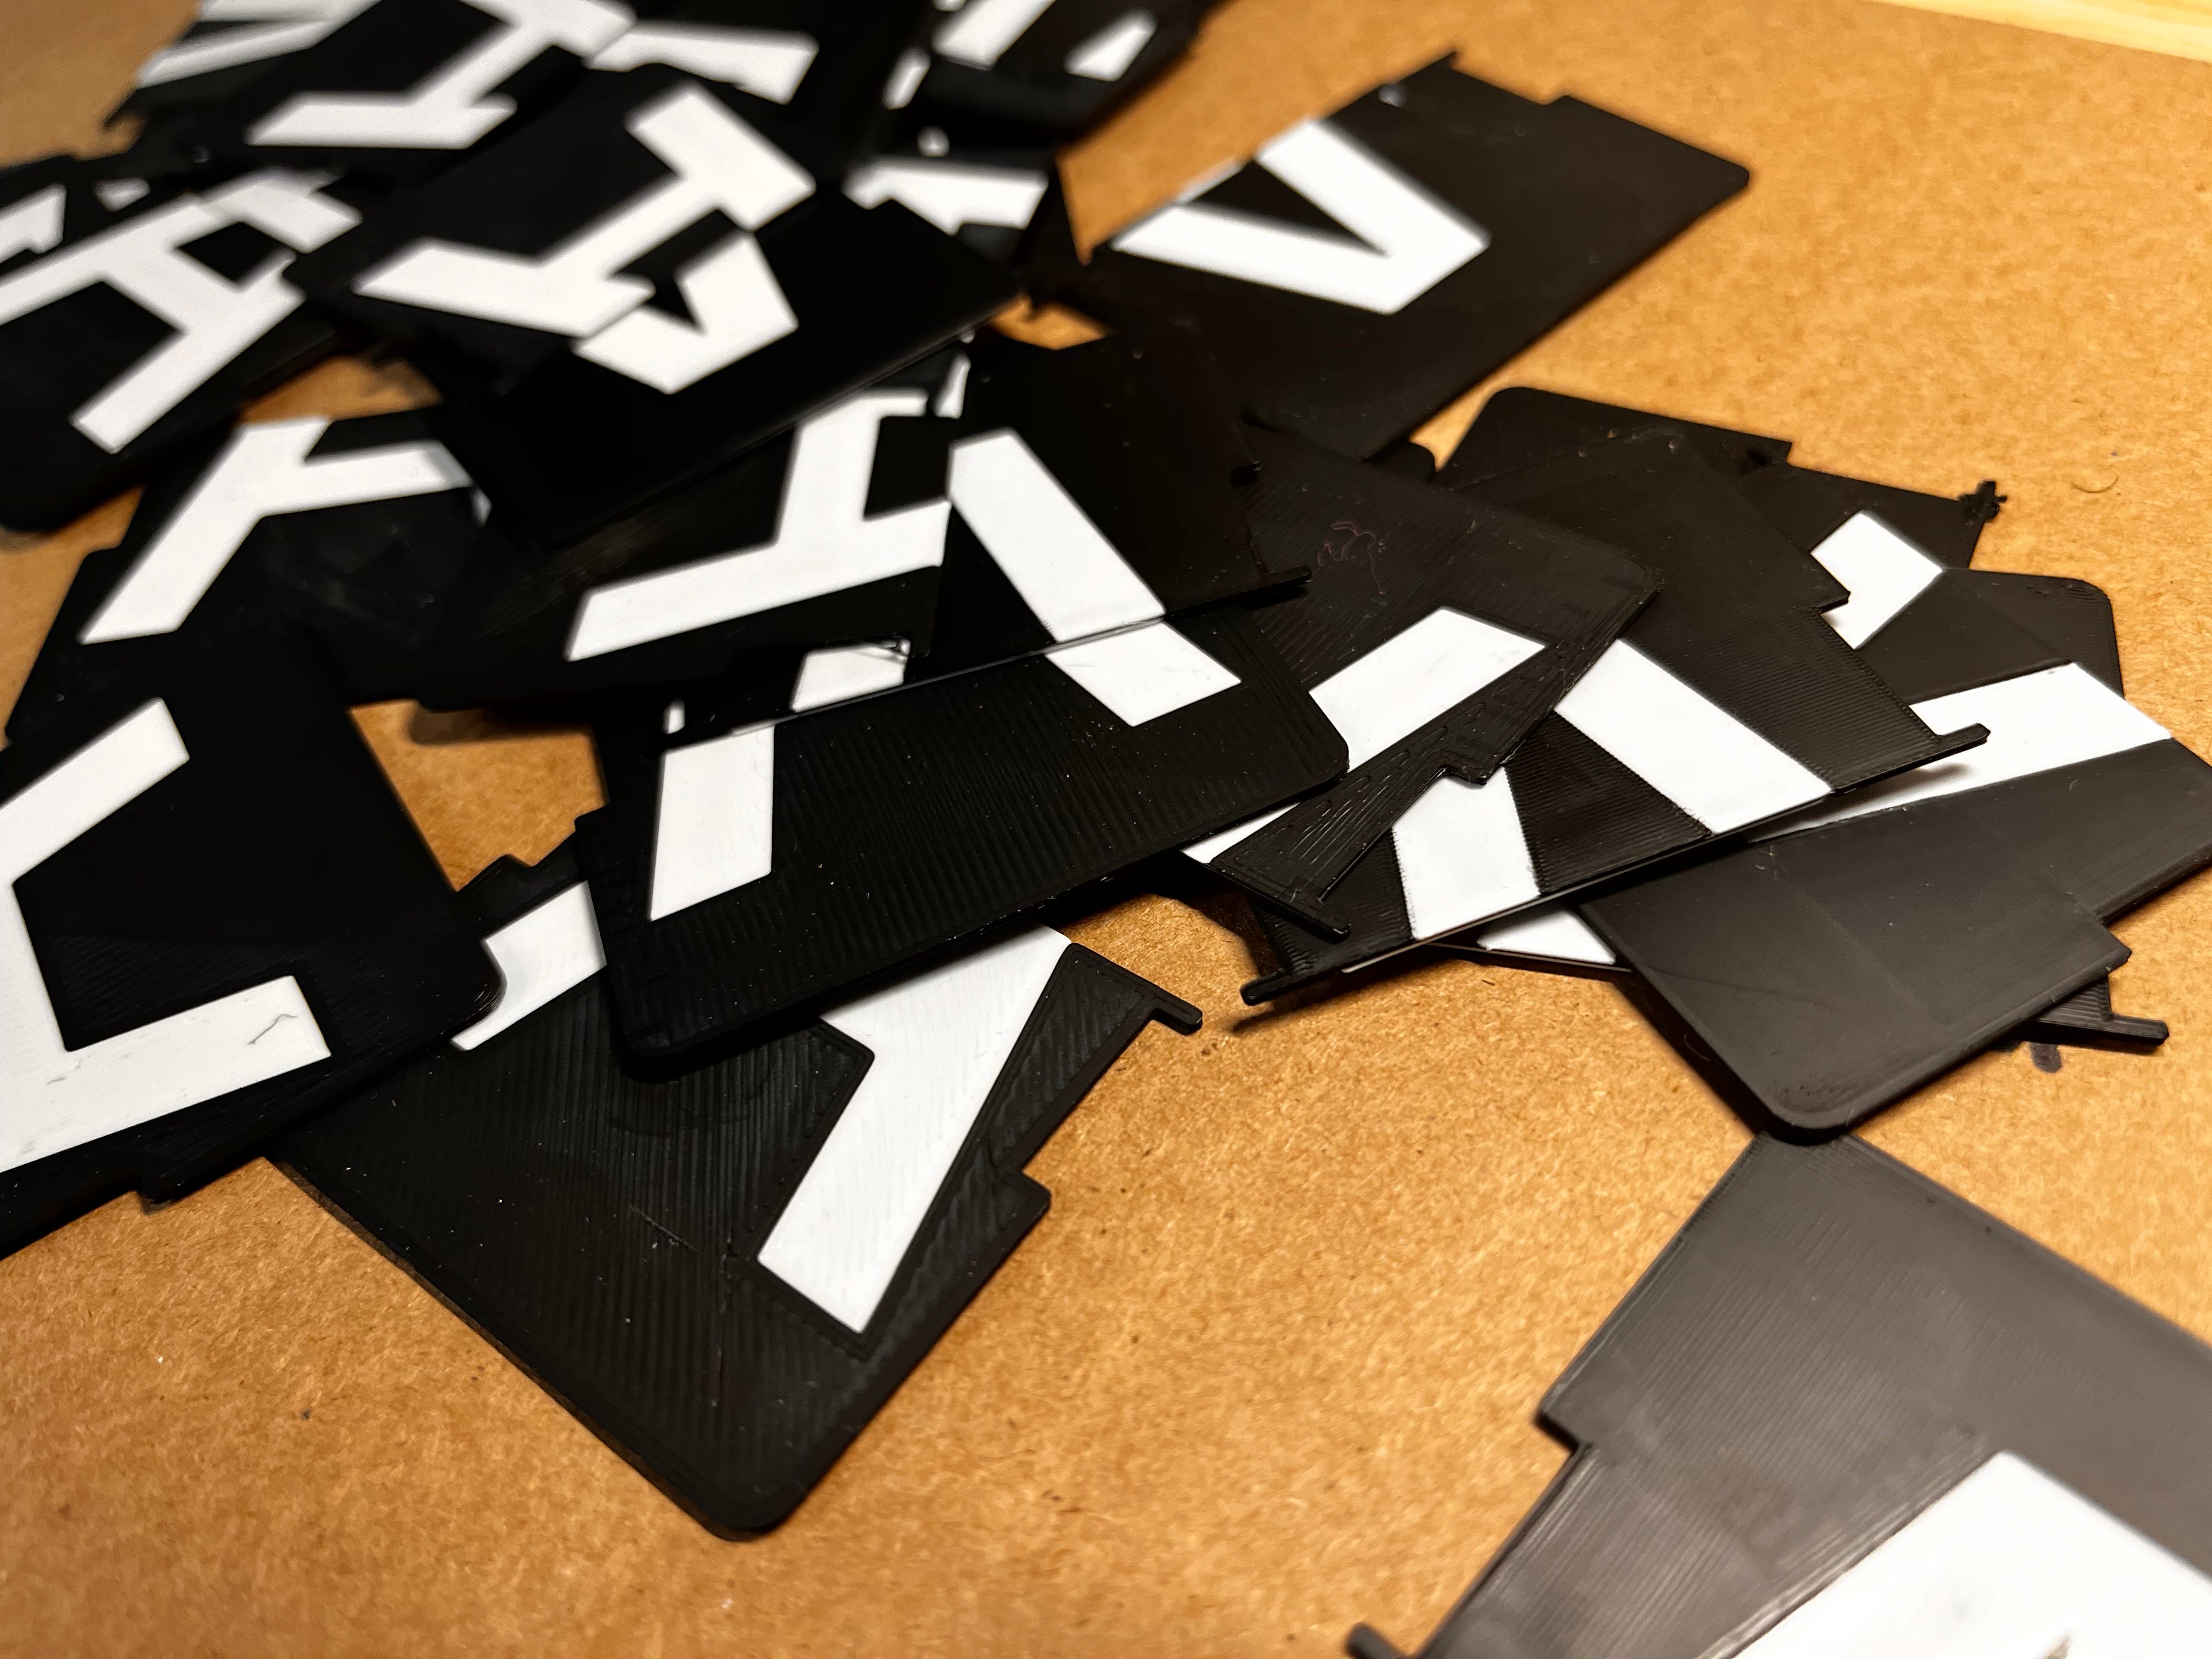
I will be 3D printing all 1,872 flaps in the sign, but there’s a challenge: when 3D printing these parts, the finish and texture can differ between the front and back sides of each flap, which could affect how the final display looks.
For those unfamiliar with 3D Printing:
3D printers build objects by pushing out melted plastic (filament) layer by layer. It’s hard to match the top and bottom appearances because they interact with different surfaces while printing. The printed object sits directly on a heated metal plate, transferring its texture to the base of the print. The rest of the print has nothing pushing against it, so they usually have visible filament lines highlighting the printer’s path.
When the sign is complete, these different surfaces will be visible side-by-side. Any mismatch in texture or finish would be immediately noticeable and detract from the professional look I'm going for.
It's time to experiment.
The Flap Composition
These flaps are not your typical print.
Usually, 3D prints have air gaps inside to save on materials, but these flaps are thin - just .03 inches. There's only enough space for solid layers at this thickness, which should help create a nice flat surface to smooth out. To avoid any colors bleeding through, each flap will have a 5-layer sandwich structure:
2 Bottom Layers for Side A.
1 Middle fully black layer to block light/color bleed.
2 Top Layers for Side B.
The tricky part will be tweaking the top layer settings to match the finish of the base plate.
My First Attempt
I started by ordering a new build plate.
The textured build plate that shipped with my printer wouldn't work—it would be impossible to replicate its rough bottom surface on the top side. So I ordered Bambu's Smooth Build Plate, which supposedly leaves a smooth matte finish on the bottom. I'd never used this plate before, but I hoped it would give me something I could match.
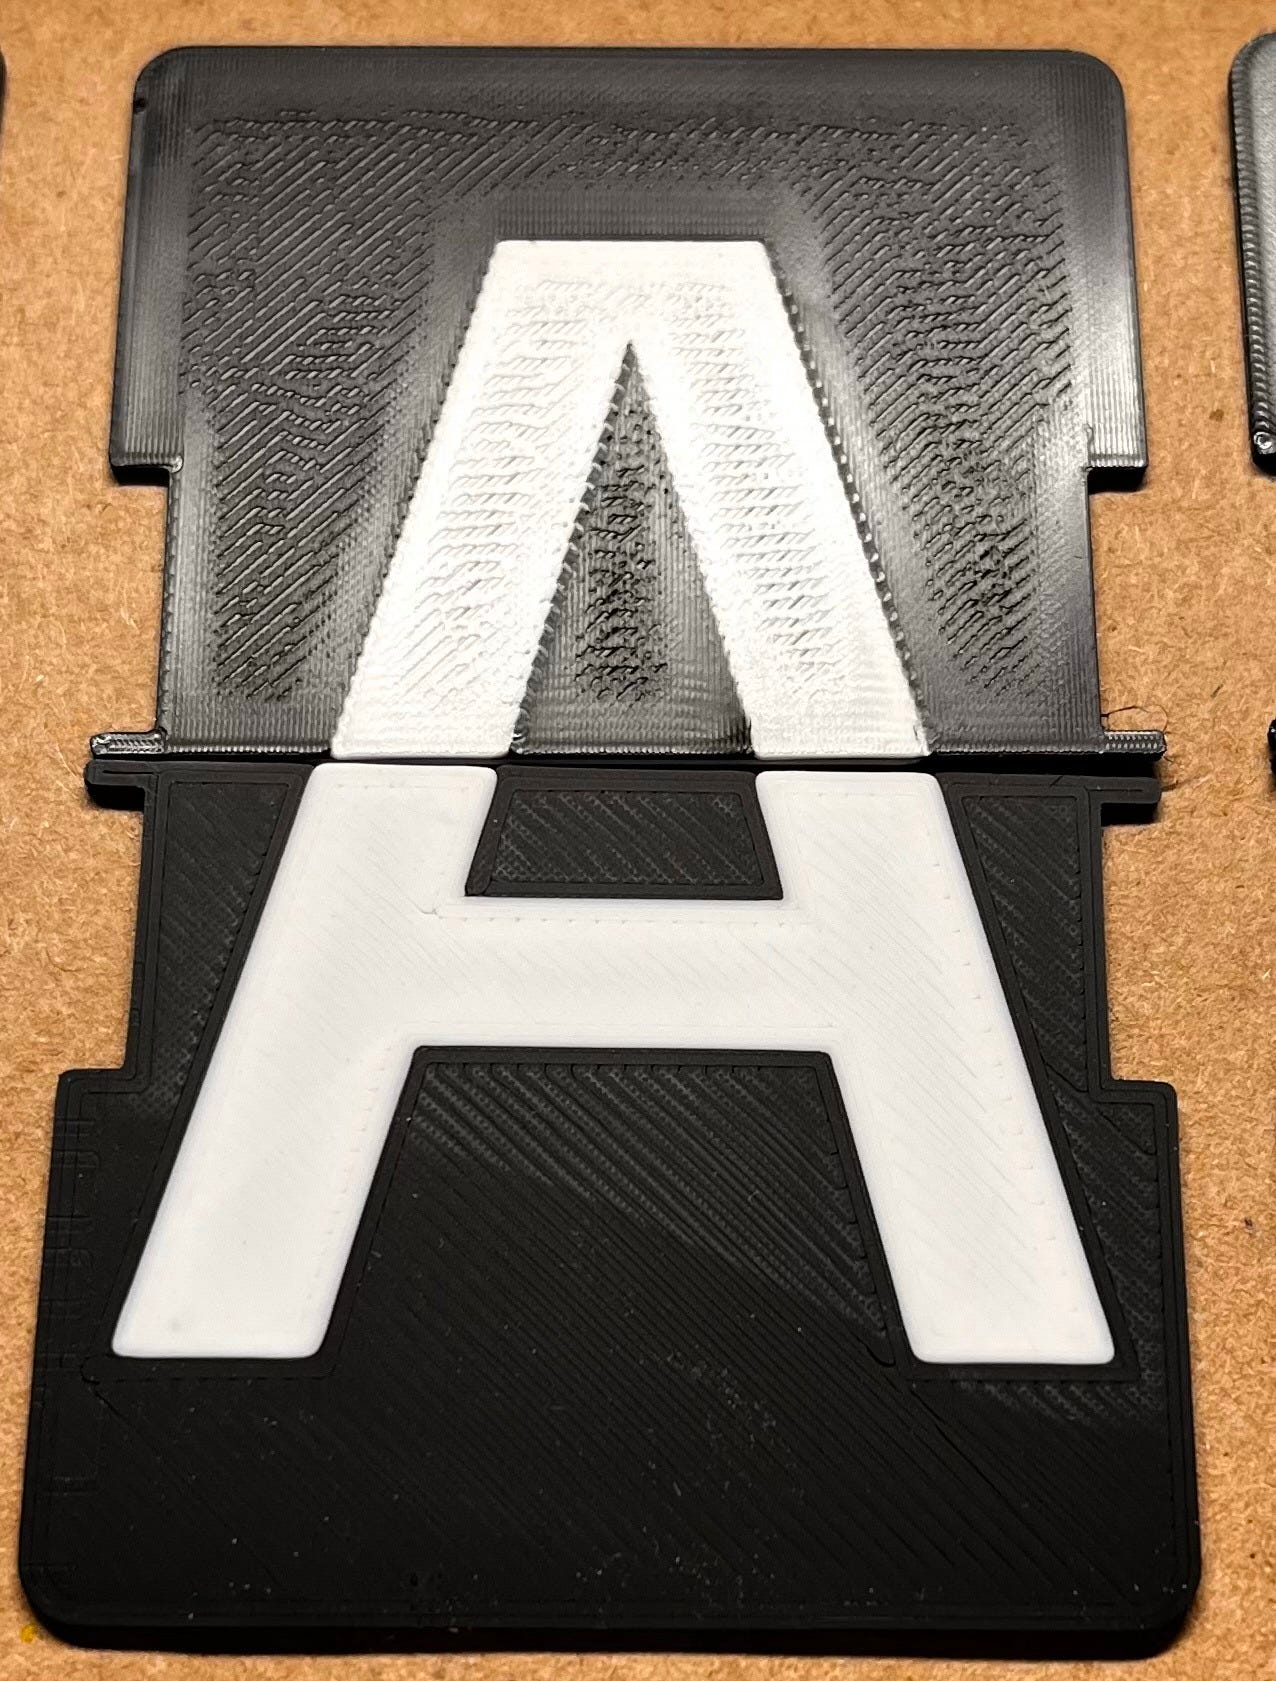
I printed some test flaps with the default Bambu settings. The results? Mixed. The bottom layer was nice and smooth, but the top layer was marred by streaks wherever the print head traveled.
Not bad, but it could be better.
Playing with Ironing
I did some research and learned about ironing.
Ironing is a setting that covers the top layer with a small amount of filament to fill in any gaps. The heat of this ironing pass smooths out any imperfections leading to a very smooth finish… Or at least that’s the theory.
Ironing is a controversial topic in the 3D Printing community.
Many makers say it's a waste of time, while others swear by the technique. Even among ironing advocates, there's no consensus on settings—some recommend fast and heavy passes, others insist on slow and light, and many land somewhere in between. Nobody agrees.
Then I discovered ironing calibration tests. After testing over a dozen setting recommendations, I learned that the machine could print multiple test squares, each with different ironing settings. This made it easy to pick the combination that produced the finish I needed.
With the help of that test, I found settings that were nearly perfect. There was still a little roughness around the edges, but definitely better.
One Final Experiment
I decided to test one last thing to push the quality even further.
I ordered a different brand of filament - Polymaker Panchroma Matte Black and Cotton White PLA (formerly PolyTerra). I'd heard good things about this filament and hoped its matte finish would hide the imperfections that stood out with the regular Bambu filament.

I threw the spools on the printer once they arrived, and the results were terrific. Much of the roughness disappeared, and any remaining blemishes were hard to spot, especially from a distance.
This is going to work.
The Final Settings (For the Printing Nerds Among Us)
Experimenting with these settings taught me many nuances about 3D printing. I highly recommend playing around with your printer to learn these things firsthand.
But if you're looking for a shortcut, here are the final settings I used to achieve these results. Remember, your mileage may vary depending on your filament, climate, and many other factors:
Ironing: Top Surfaces
Ironing Speed: 30mm/s
Ironing Flow: 28%
Ironing Line Spacing: .2mm
Ironing Inset: .3mm
Ironing Direction: Whatever % Gives you Horizontal Lines
Order of Walls: Outer/Inner
Internal Solid Infill Pattern: Monotonic
So another milestone unlocked. Now that I am confident I can print high-quality flaps, a new opportunity lies ahead: Customization!
More on that next week. 😀
I hope everyone had a wonderful New Year’s. Thanks as always for reading along. If you enjoy reading about this project as much as I’ve enjoyed building it, please consider giving it a like or share. I’d really appreciate it.
All the best,
John
A truly impressive amount of experimentation. I can see that it'll be worth it. If the panels had visible flaws that's the kind of thing that would drive you crazy in the final product. If you're going to print 1872 of them better to spend some time and do it right.
Happy New Year,
/K